I’ve already discussed the less demanding mini-games of FNAF: Help Wanted 2, so today, I’ll be ranking the absolute worst, most stressful levels of the game! Whether we’re having to be meticulous within a time limit or fending off aggressive animatronics (or plushies) in more classic FNAF gameplay, these are the levels that probably shaved off a year or two from my life thanks to the sheer anxiety they caused me! Like last time, keep in mind that I was playing the flat mode version of a VR game, so my experience might differ from those of VR users.
18: First Aid: Lefty – This First Aid level is quite similar to Pig Patch’s, except there are now ads that will randomly play and attract Lefty to your location, in addition to Helpy’s screams. I always fumbled too much to grab the remote in time, so it helps to only do a few steps before grabbing it and waiting for the next ad to play. Clearly Lefty doesn’t appreciate me practicing questionable medical procedures on poor helpless Helpy…

17: Breaker Room – In this level, you must reset the breakers by flipping the correct levers while keeping Funtime Freddy at bay using the Bonbon audio. I’d recommend just focusing on the dials that require two levers because the other dials will get taken care of at the same time. The worst part is that Freddy is kind of hard to see, and you must play Bonbon’s audio at him really fast if he gets too close. Having to keep looking for him when you’re trying to match up the pairs of levers is quite distracting!
16: Ballora Gallery – This level wasn’t exactly hard. You mainly just crawl forward and stop when you hear Ballora’s music. And grab and toss the Minireenas when they get close. Unlike the original level in Sister Location, you can move if Ballora is close, and sometimes you might need to back up to avoid her when she passes by. My biggest issue with this level was the fact that I didn’t always know how close Ballora was until it was too late, giving me too little time to back away before I got kicked in the face by her pirouette
15: Office: Puppet Master – This level features Ballora, the Minireenas, and a very aggressive Bidybab. It’s not too hard to close the doors fast enough for Ballora, as you’ll hear her music right when she rounds the corner, giving you ample warning. The Bidybab, however, was more of a problem, as it can skitter down the vent very fast once it chooses to attack, so I’d recommend just shutting the vent when you see it rather than waiting. You absolutely must keep up with the Minireenas, though, which will gather on switches and prevent you from closing doors. Also, if you see an exclamation point on the screen, that means that something is draining power, so make sure you quickly find the culprit in the camera and shock them like they deserve!
14: Office: Funtime Gang – Now you’ve got Funtime Chica, Foxy, and Freddy to deal with. Funtime Chica is the easiest, as you must simply keep the cupcake on the side of the desk opposite her to lure her around the building. When Foxy leaves their room, make sure you close both doors, as they’re so fast, it’s pretty much impossible to know which hallway they’re coming down. And lastly, when you hear Freddy yell something, look around for Bonbon. If he’s in the vent, you’ll want to close the vent more quickly, but if he’s in the hallway, wait for him to rear back before closing the door. Since Bonbon takes so long to attack, you’ll only end up wasting power if you close the door right away.

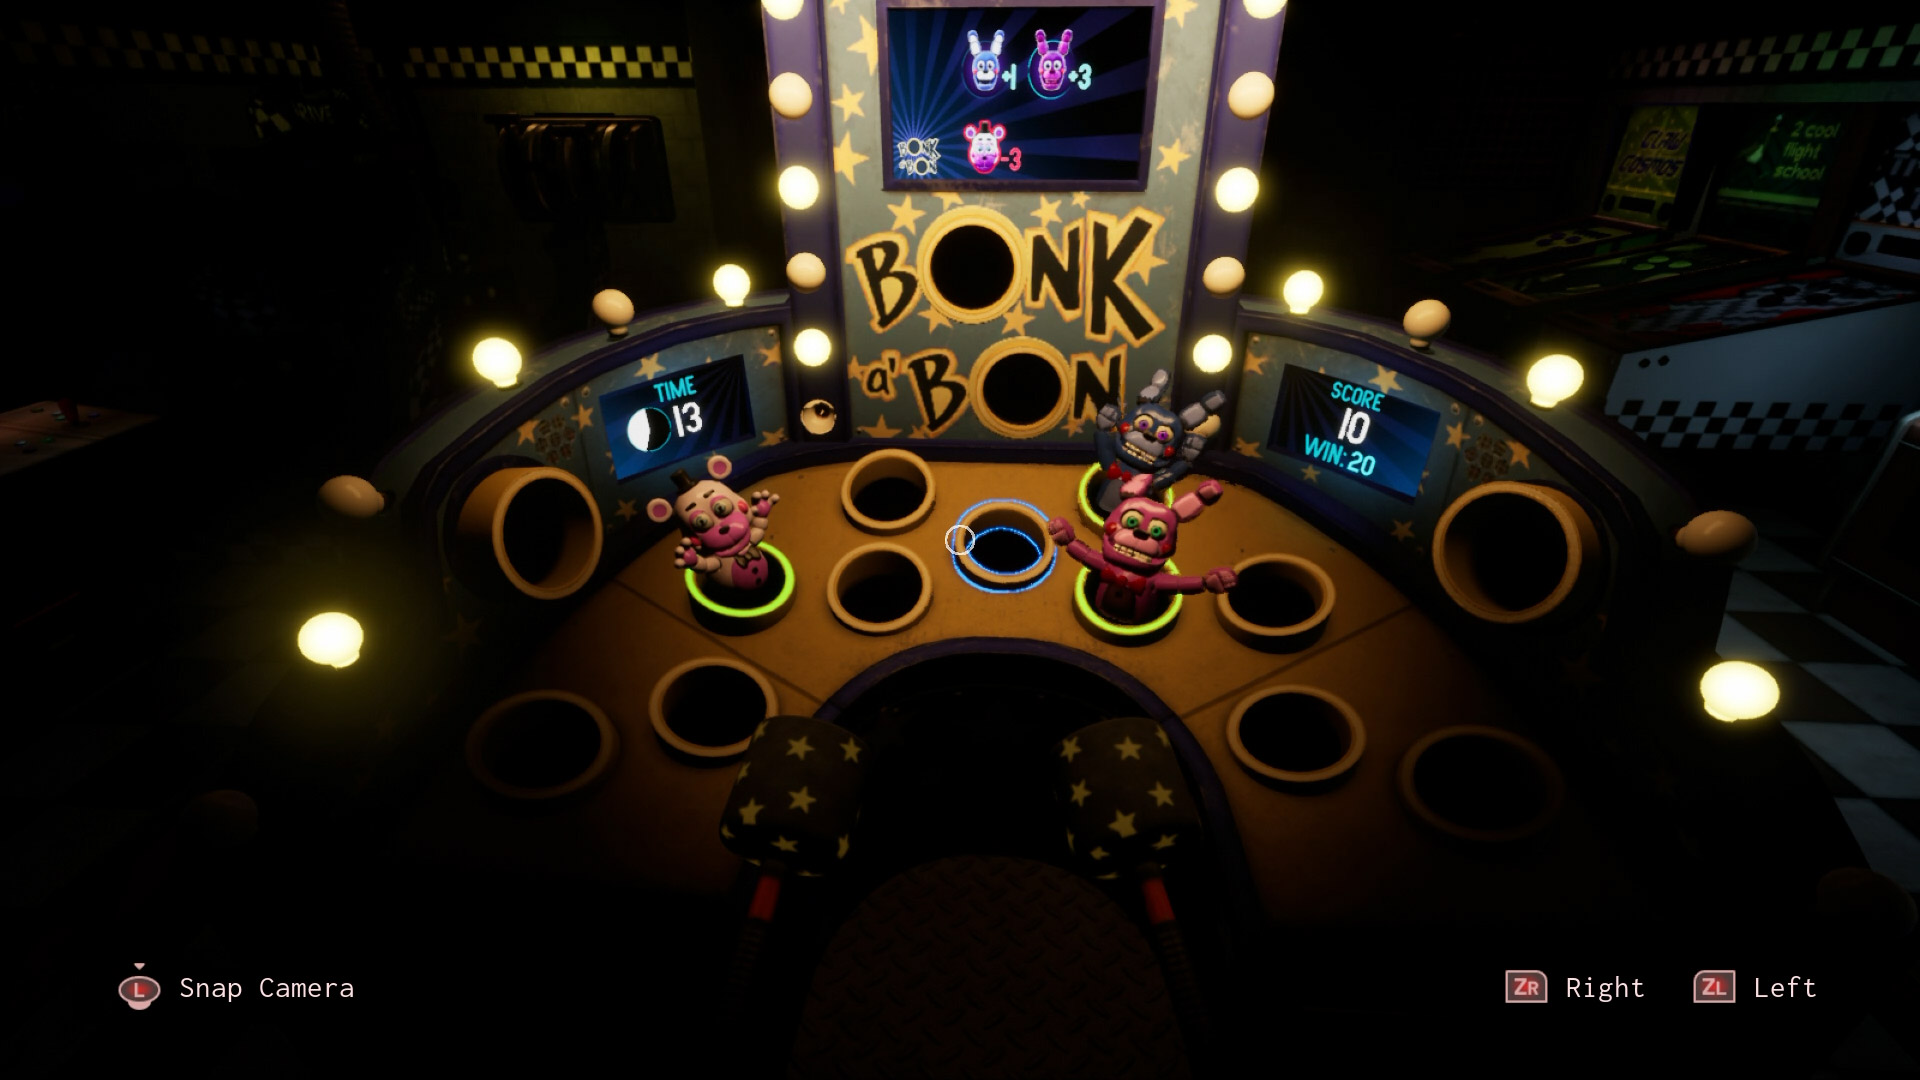
13: Bonk a’ Bon & Bonk a’ Bon: Bonus Round – I’m combining these two, as they’re pretty much the same. This is just a whack-a-mole game. Hit the Bonnies (pink gets you more points than blue) and don’t hit Helpy. Soon enough, Plush Baby will be added, who requires three hits and will jumpscare you if you take too long to get rid of her. Make sure you keep up with them, as there can even be two at once! You need to get a certain number of points for each of the three rounds, which can be tough, but at least Plush Baby grants you extra points. The Bonus Round is pretty much the same, with the addition of eyes that appear later to distract you. Just make sure you don’t hit Glitchtrap in round 3, or you’ll need to enter a code to get the game working again. The Bonus Round is just an extra round to get points and doesn’t even feature any Plush Babies! It can be rather stressful to hit enough Bonnies in time, especially since in flat mode, you can only hit one target at a time, making the second mallet redundant. This is the only level in the game that really makes my hands shake!
12: Arts & Crafts: Loft – That’s right, I think the more “difficult” Arts & Crafts level is actually easier. Initially, painting the picture fast enough is difficult, especially when the paint colors don’t match the screen that shows you what to copy. Fortunately, it helps that the screen has numbers associated with the colors, as do the paint cans, so either use the paint with the matching number or use a combination of paint that adds to the correct number. The two paper pals, however, don’t have a time limit, so you can take as long as you want, provided you keep Moon away and keep the flashlight charged. I just alternated between shining my light on Moon, then charging my flashlight while I complete a few steps on my art project, then locate Moon again, and repeat! Just be fast if you hear loud clattering noises because this means Moon’s appeared really close by, and he won’t give you much time before he attacks!

11: Arts & Crafts: Daycare – I actually find the original Daycare level to be far more difficult just because you have a tight time limit for each of the three projects, paint by numbers (with accurate colors this time) and two paper pals, the latter of which requires painting. As Sun himself says, there’s so much to do and so little time! I never knew Arts & Crafts could be so stressful! It would probably be a lot more fun if Sun allowed for some actual creativity…
10: Fazerblast: FNAF 3 – This level can only be unlocked through a specific set of circumstances…but once you do, you must throw balls at Springtrap to knock off pieces of his body, then shoot the pink parts with the dart gun, then use the blaster to finish him off. The whole time, he’ll be changing locations, and the Plush Babies are absolutely relentless! To make matters worse, Springtrap will often appear so obscured by objects, there won’t be any exposed part of him to hit, making this stressful level drag on even longer!
9: Endo Warehouse – In this level, you’re apparently training young endoskeletons by playing a matching game. But you’re not matching pairs of pictures, but rather, pictures that are associated with each other (such as a pool is paired with swimming). Some of these pictures can be a little hard to figure out, though, so just match the background colors. While you have unlimited time to memorize the pairs, the challenge comes from keeping the wandering endos away with the Fazcam. They come from two different directions, but the intensity of the rumble in your controller will tell you how close they’re getting. Keep in mind that they won’t go away when you flash them unless they’re super close. I really struggled with remembering the pairs while also keeping the endos away, so I’ll admit that I cheated my way through the level by pausing and writing down the pairs. But you can’t deny the results, as it makes everything way easier!

8: Fizzy Faz Nights 4-5 – This is when the Fizzy Faz levels get difficult. Now ingredients can spoil if they max out, forcing you to purge the whole batch, and Chica can now attack. To manage this, you must throw out ingredients to lure her to the trash. My method was to throw out the most abundant ingredients whenever a new order comes in, give a Staff Bot a break, make the correct order, give another break, wait until the timer almost runs out before submitting the drink to give me more time for ingredients to refill, and repeat. These nights require a lot of concentration to get right, but if you are fast and have a good system, then they’re certainly doable.
7: Salon: STAFF Makeover – I hated these Salon levels. A big problem was the fact that the colors of the makeup don’t match the colors on the screen showing you what to do. It’s especially bad with the Moon and Monty makeup. Though one thing I realized after finishing the game was that the makeup has a certain pattern on it (like dots or diagonal lines), so for colors that look too similar in appearance, it might be better to just match the pattern. The other thing that really confuses me are the accessories. You’ll be shown silhouettes of different necklaces or mustaches, and many of them are just not distinct enough to tell apart. This makes these levels some of the most frustrating because of how unclear they are!
6: Salon: Roxy Repair – Strangely, the more difficult of these levels seemed a bit easier for me. The problem with the Roxy Salon levels is that she demands that you look at her constantly or else she’ll get angry. Plus, in Roxy Repair, she will now have these little fits, during which you must play the Roxy-Talky at her (hold the button, don’t just press it) to calm her down or else her annoyance meter will skyrocket, and she’ll jumpscare you. Usually, the lights will flicker, though, so you have warning when this is going to happen. Despite this added challenge, however, I feel like Roxy Repair was a bit easier than Glam Makeover because of the generous time limit and the less confusing accessories. The hardest part is the eyes, so make sure you pay attention to the little left or right arrow on the screen to know which eye you should be giving her (your left and right, not hers).
5: Salon: Glam Makeover – This was probably the hardest Salon level for me because it combines the worst elements. One, you have to keep looking at Roxy to prevent her from getting too angry, plus you have a bunch of confusing accessories that are hard to identify, like the same necklaces that I struggled with when dressing up the Staff Bots and nose rings. No other category of levels in the game had me staring at the screen in utter confusion, wondering what in the world I was looking at. And that’s why these levels annoyed me to no end!

4: First Aid: Scrap Baby – This level is quite similar to Lefty’s, except Scrap Baby is way more aggressive, and you now have procedures that cause poor Helpy to scream a lot more. Such as needing to saw off what remains of his leg, which can sometimes take many tries to complete! And just like with Lefty, you have the random ads to deal with, which lure Scrap Baby to you very quickly. It also didn’t help that Helpy wouldn’t always stop screaming, even when I put the mask on him, so even when I looked at Scrap Baby, she wouldn’t retreat. The only way I could complete this level was by completing a few steps, then just waiting with the remote in hand for the next ad. It was really boring and tedious, but at least I finished it.
3: Breaker Room: Hard Reset – As expected, this version of the Breaker Room level is harder, though it seems to play pretty much the same. The worst thing is that your new threat, Yenndo, is super hard to see, making it far more difficult to keep him away or react when he gets close, as you usually just have a tiny glimmer of metal to warn you of where he is. If I knew how to increase my TV screen’s brightness settings, that would have probably helped…

2: DJ Music Time: Pro – I had no trouble with the first two DJ levels, but this one is insane. This is actually one of only two levels that I’ve yet to complete. For one thing, time is very tight, and you now have a potential of five things to memorize instead of just four. Also, the Mini Music Men are relentless, and it’s really hard to keep up with them and get your task done within the time limit. Plus, if you don’t flash them with your Fazcam fast enough, they are very quick to attack! The best I was able to do was complete 4 out of 5 rounds. Maybe with practice, I can beat this one, but do I even want to prolong my suffering at this point?
1: Office: Job Interview – This is the other level I couldn’t complete, and I don’t see myself ever being able to. Circus Baby wants you to play three games with her Plush Babies. Hide and Seek is easy. You just find them in the cameras and shock them, even if they’re a little difficult to see. And then there’s Flashlight Tag, where you must shine your light on the Plush Babies to make them go away. This would be doable if it didn’t drag on for so long. Lastly, there’s Red Light, Green Light, where you must shine your light on three Plush Babies to keep them away. Even when I follow guides online, I can never swap between them fast enough to keep them from reaching my office. This is one level that might actually be impossible for me, a fact that is even more frustrating when it’s the last level I need to complete in order to collect all six Faz Force figurines…
And that’s that, folks, the most stressful and aggravating levels of Help Wanted 2! Be sure to let us know in the comments what levels you enjoyed the most and which ones caused you the most anxiety!
