Help Wanted 2 is the second Five Nights at Freddy’s VR game and is essentially a mini-game collection disguised as training for new employees. You’ll be learning how to serve food to hungry customers, prepare Roxy for her performance by putting on her makeup, and playtesting various games. I played the flat mode version of the game, and while it was just a tad wonky, it was still a good time, even if some mini-games were way more stressful than others. Although I’ve already written a general review of the game, I didn’t really get to go into detail about any of the levels. So in this 2-part post, I’ll be ranking all 40 levels (some are grouped together) by difficulty and giving tips whenever possible.
35: Fazerblast – As long as you put minimal effort in, it feels like you can’t really lose in Fazerblast. Just shoot those targets and have fun! If only more levels were like this…
34: Captain Foxy’s Log Ride – Apparently, you can lose this level if your points are really low, but as long as you don’t just, I don’t know, sit there and do nothing, you should be fine. The only “challenge” comes in the form of three secret paths where you must fend off Jack-O-Moon, but he’s very easy to keep away by simply hitting the associated yellow switch above him to close the door or shutters in front of him or turn the lights on to make him flee.

33: Princess Quest 4 – This level can only be unlocked if you collect six of these secret items, but I won’t spoil them. I also won’t spoil the second half of Princess Quest 4, which is quite cool. This Zelda-esque arcade game is quite short and easy. My main challenge just came in the form of the Princess being so small on the screen, while the glow surrounding her made it even harder to get a good idea of where she was swinging her sword, leading to a few deaths too many for so simple of a level.
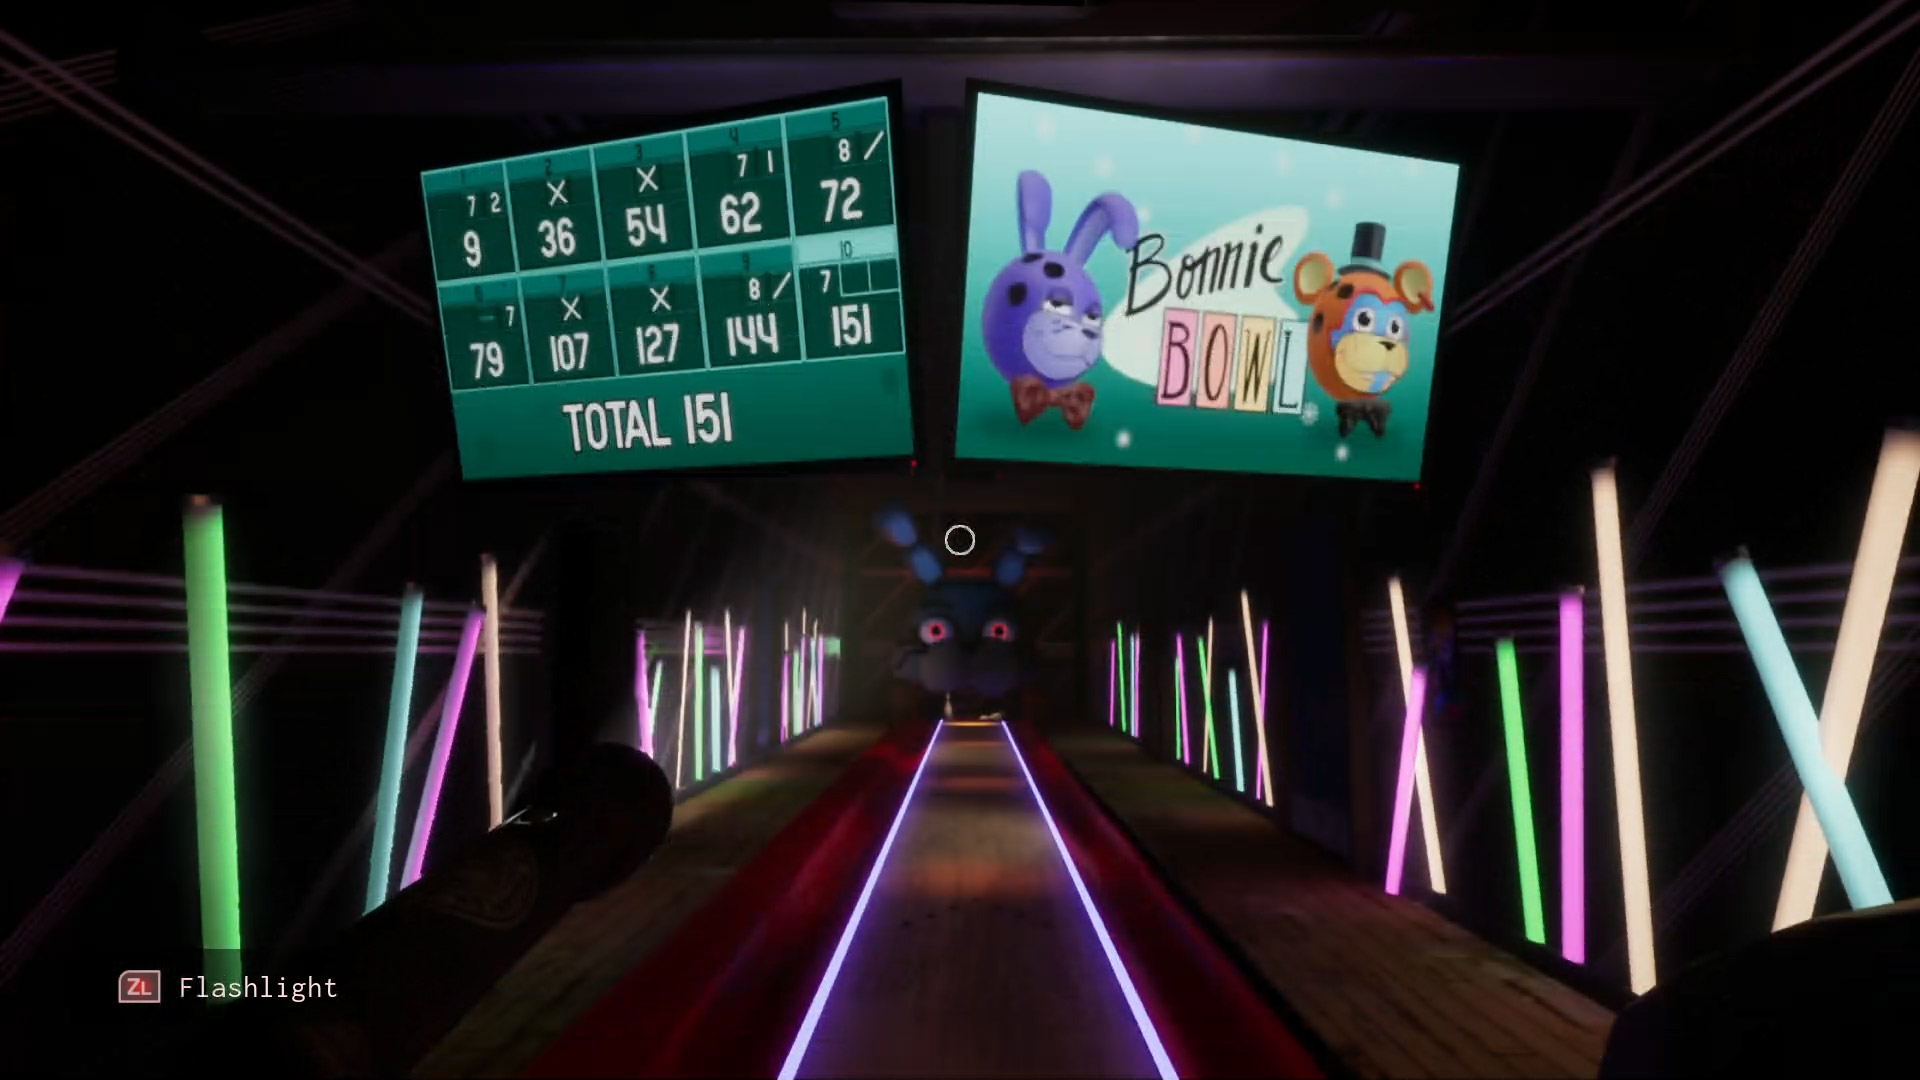
32: Bonnie Bowl – This level is pretty easy. So easy, in fact, it’s a bit boring. Unlike most levels, this one doesn’t have random hazards, and you are warned ahead of time before they happen anyway. So while you’re bowling, different things might happen. Gator heads appear to try and hit your ball into a gutter. A Plush Baby will run down the aisle at you, forcing you to hit her with a ball. And Moon will appear in a hole in the ceiling, forcing you to shine your flashlight on him. At the end, pretty much every hazard happens at once without warning, so that’s really the only time it’s easy to mess up.
31: Cold Storage – This level is very easy, but it can be easy to fumble around and fail to cool off Freddy’s innards fast enough. You must thaw the ice on Glamrock Freddy, then prevent him from overheating (quite a fluctuation of temperatures in this freezer), then replace the cake in his stomach hatch with the correct one to be dubbed as his superstar. Again, not too difficult, but you better swap cakes quickly or you’re in for a scare!
30: Carousel – Time limits were my worst enemy in this game, so this level is easy because it doesn’t have one. You just have to repair a few parts of the carousel while keeping Moon away by shining your flashlight on him. The more you repair, the more parts of the carousel start moving, making Moon harder to find, but as long as you sweep your flashlight slowly over the general area where he should be, it shouldn’t be too tough. Frankly, I just find it amusing watching Moon zip by on one of the carousel animals! If I didn’t get jumpscared that one time, I’d think Moon was more interested in playing than actually threatening me!
29: Cinder Carousel – This “harder” Carousel level is actually barely more challenging than the first one. Sure, there are more things to fix, but finding Jack-O-Moon with your flashlight isn’t that difficult, and this level took me only one try to complete.
28: Fazerblast: Western – This Western-themed shooting gallery adds two new features. One, you are now given balls to throw at these big, round targets, and halfway through, Plush Babies will start to appear in random places, and you must hit her quickly before she jumpscares you. She’s distracting, but she’s more of a minor nuisance than a real problem.

27: Fazerblast: FNAF 1 – This time, a dart gun has been added for popping balloons, and Plush Babies will spawn throughout the entire level. You can also get non-fatal jumpscares from the FNAF 1 animatronics if you don’t shut the doors quickly enough with your blaster, but this only distracts you from earning points. And it’s pretty hard not to get enough points here.
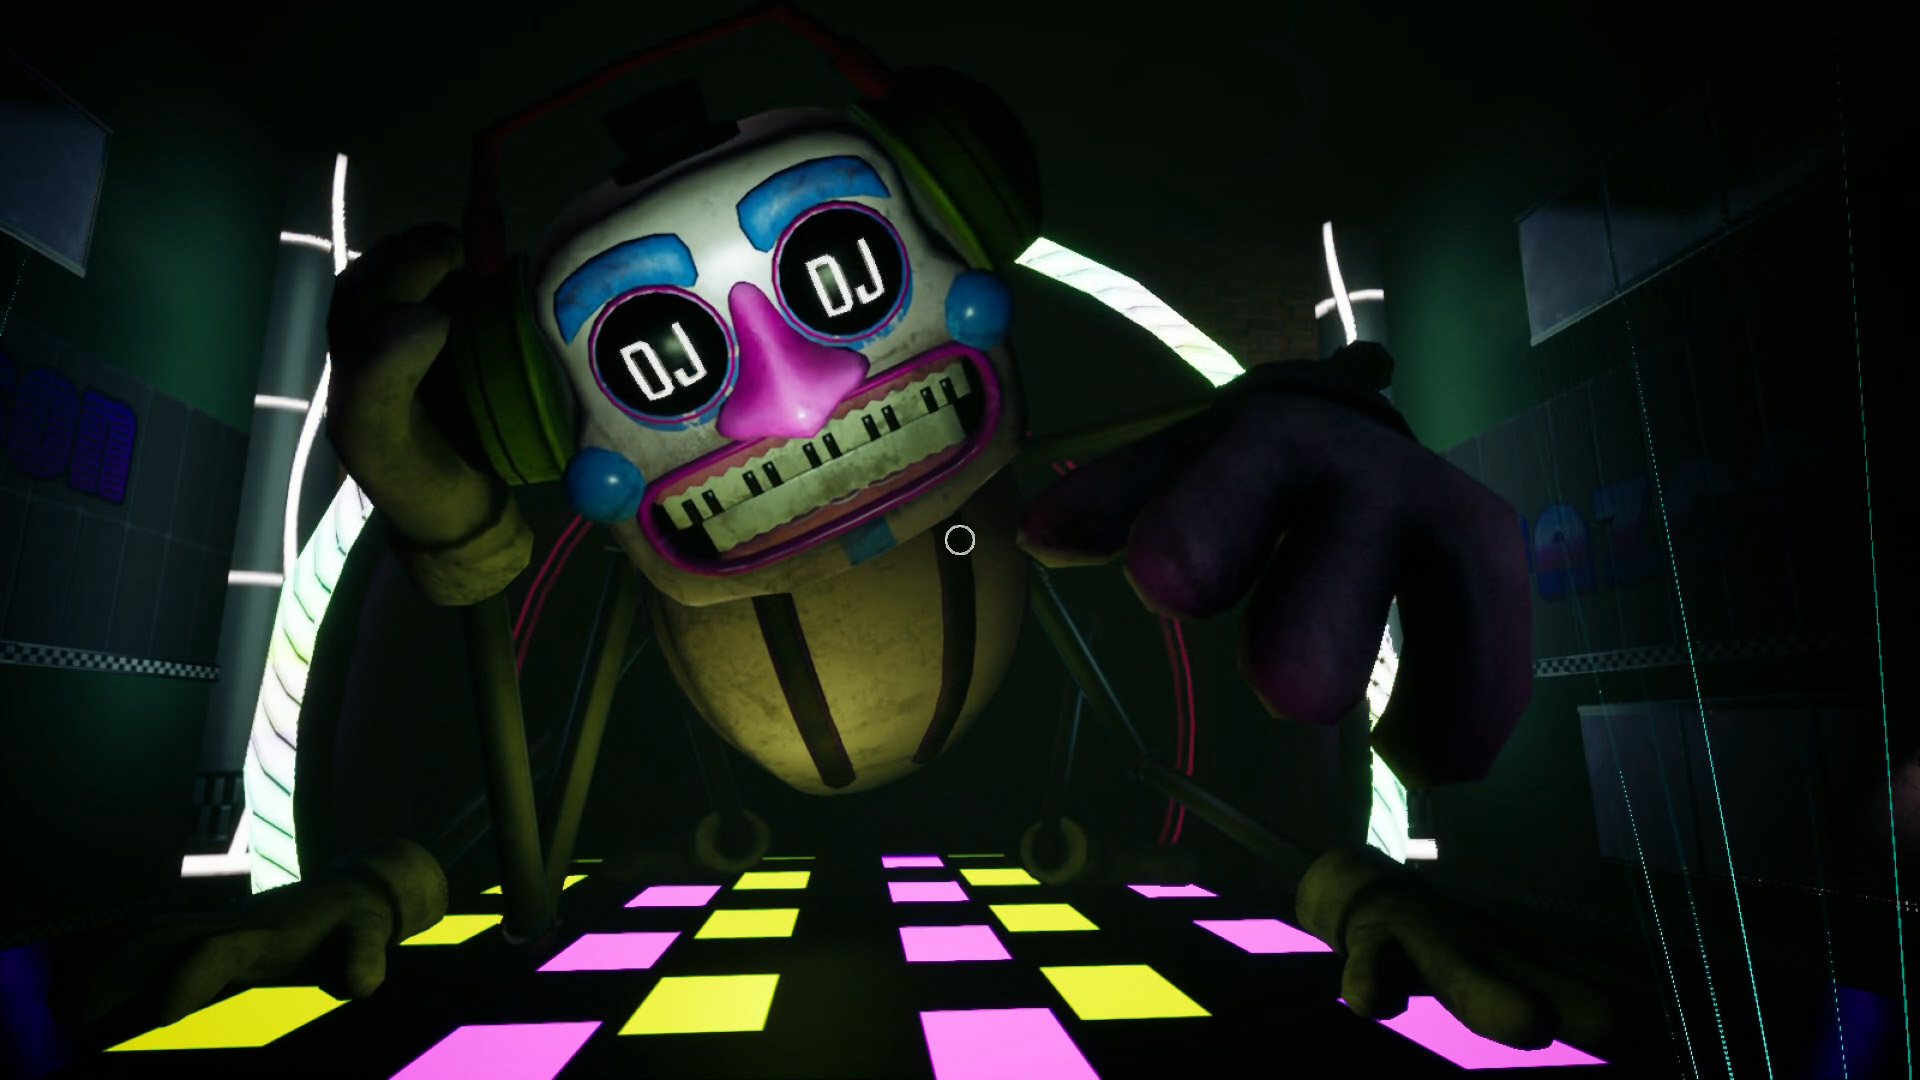
26: DJ Music Time: Beginner & Advanced – Both of these levels were really easy for me, so I’ll just include them together. You need to match the brief tune the DJ plays, which would probably be impossible for me if it wasn’t for the visualizer, making this more of a matching game. Just repeat the four features you need to match (for example, you might want to chant: green, mountains, Chica, rainbow), and you shouldn’t have much of a problem. In the Advanced level, Mini Music Men are added, so make sure you flash them quickly with your Fazcam before they jumpscare you. Also, the one that appears right in front of you won’t hurt you, but it will stomp on the buttons and change the settings, so watch out!
25: First Aid: Pig Patch – In the First Aid levels, you must perform some rather questionable first aid on Helpy while keeping noise to a minimum. If Helpy screams, you must quickly put this mask over his face to quiet him down, then face the vent where the roaming animatronic is crawling out of to make it back off. While I was sometimes confused by what I needed to do, Pig Patch isn’t too aggressive, making this level rather easy.

24: Fazerblast: FNAF 2 – As was the case with the FNAF 1 shooting gallery, this one is pretty hard to lose as long as you keep those Plush Babies away. What is difficult is actually getting a high score here because if you’re actually interested in earning points, this level can be quite hectic! You’ll need to keep the music box wound up and check the cameras for animatronics, namely the ones in the vents. If you find any in the vents, you’ll need to open the vents to the left or right and pop the balloons comprising them with your dart gun. Oh, and make sure you knock all the kid targets down with the balls or else they’ll get in your way!
23: Fizzy Faz Nights 1-3 – These levels are apparently so easy, I blundered through them without even understanding what to do. So you need to make these Fizzy Faz orders and manage your resources. To give Staff Bots breaks, click the associated camera button and then press pause. Once the timer runs out, you can give someone else a break. And to get more of a certain ingredient, you must click the correct camera, then the fast forward button. If too many Staff Bots want breaks at the same time (indicated by flashing yellow buttons), you will likely need to hit the red button to initiate a lockdown (which I think you can only do three times), during which no ingredients will be made. You also sometimes have special orders that you must prioritize above your usual ones. In Night 3, a fifth ingredient, salt, is added. But whether you have four or five ingredients to manage, this is a pretty easy game. For the first three nights, anyway…
22: Office: Private Room – In this first Office level, you must only keep Ennard away. Check the cameras and close the correct door before he reaches you. Keep in mind that he seems to attack faster when he’s in the vent than when he’s limply weirdly down the hallway.

21: Fazbear Theater – Strangely enough, I think the last Food Prep level was probably the easiest. The foods are largely simple to prepare, and you have plenty of time. You can excel in these levels if you plan ahead by preparing drinks at the start and in between orders when Chica is chowing down, which will save you a lot of time when there’s an actual countdown. The most time consuming thing to make here are the blendies, disturbing concoctions that mix a drink with a snack into some sort of unholy smoothie, but as long as you start them first before preparing everything else in the order, you should be fine. Oh, and there are now endos added to make things harder, but just flash them with your camera when they get close. They’ll all walk up right in front of you, so it’s not like you really need to look for them.

20: Pizza Pizza Pizza – This medium-level Food Prep stage isn’t too bad. It doesn’t include endos, and nothing is too tough to prepare. With that said, having to flatten the dough and add toppings to the pizzas, which are sometimes folded into pizzaritos, is certainly more involved than just tossing a bunch of premade snacks onto the tray. Oh, and if you lose your rolling pin, it might just be on the trashcan. I lost mine twice somehow!
19: El Chip’s – The first Food Prep level probably stressed me out the most. This time, you have a line of impatient Staff Bots, and your only chance to prepare drinks is at the beginning and between rounds, as you don’t get extra time between orders like you did when Chica was around. Also, the entrees are just a bit more stressful to make with a time limit, with the need to enter a random code each time to heat it up.
This post has gotten a bit long, so be sure to come back next week when I’ll be discussing the absolute most stressful levels in the game! And don’t forget to leave your thoughts in the comment section below, dear readers! Which levels were your favorite, and which ones did you find the most difficult?
